Yesterday Zoie had her celebration program at school. It is hard to believe she will be in first grade next year! I am not sure where the year went. Next week she starts Blackbelt Academy for summer camp. Jess has to work so she will be doing this camp each day so Jess does not have to entertain her. They have a lot of activities planned for the kids ~ trips to the pool, trips to the gymnastics center, other field trips, as well as 2 classes in martial arts. She will enjoy her days there.
I did manage to get my video made, a card completed, and another card started yesterday in between and after my appointments. I got a good report from the dentist as I had no cavities. I was glad about that. Today I am headed to the yarn store and then I will work on some more cards. I have to have all my posts for next week completed since I will have the girls.
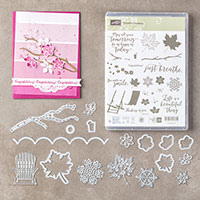
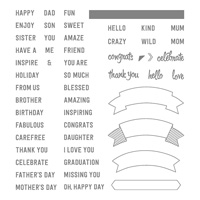
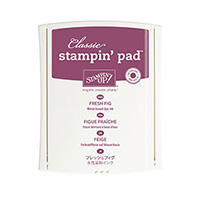
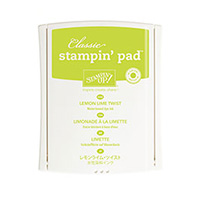
My card today uses a new technique. I ran across this technique a week ago. I wanted to give it a try. You begin by taking white glue and using a piece of plastic wrap you sponge the glue onto a piece of watercolor paper. Then you set the paper aside and let it dry overnight ~ you need to allow it to dry overnight to ensure the glue is dry. The next day you use a teflon mat and your ink pads to apply ink to the mat. Using a spray bottle of water, you spritz the ink until the ink beads. Then you take your watercolor paper and place in the water. I used 3 colors ~ Fresh Fig, Lemon Lime Twist, and Flirty Flamingo ~ and added my paper strategically so I could blend my colors well. Once you have your paper covered with ink, you set it aside and let it dry again overnight ~ I did not use the heat tool to dry it as I did not want my colors to run. The next morning your background is complete and you are ready to make your card. I added some Flirty Flamingo ruched ribbon and then mounted the layer onto a Basic Black card base. I used the Thoughtful Banners for my sentiment which I stamped onto Lemon Lime Twist and cut out with the Stitched Shapes framelits. I added a black background layer using the Stitched Shapes framelits also. This was added to my card using dimensionals. I stamped some of the flowers from Colorful Seasons using Fresh Fig and Flirty Flamingo. The matching framelits were used to cut out the flowers. They were added to the side of the sentiment using dimensionals. To finish off my card I added some silver circles that were left over when I cut one of the tools from the Nailed It bundle ~ I saved them as I knew I would have a use for them. Here is my completed card.
inside of card and envelope
There were a few things I learned in doing this technique. I used the Tombow glue. This glue was tacky when it dried. So I had to add some Corn Starch to the glue to take away the tackiness. It was okay after that. I would recommend using a white glue like Elmer's. This glue would not be tacky when it dries. If you don't want your colors to bleed, do one color at a time and make sure the one color is dry before adding another color.
Thanks for visiting me today. Do you have a technique that you have found you would like to try? Go for it! Have a Great Day and what did you think of my Sponged Glue technique?
Robbie







Great technique, Robbie! Can't wait to give it a try!
ReplyDeleteHi Bobbie, interesting technique. Thanks for sharing.
ReplyDelete